
This next cad is so pretty also and quick to create. Perfect for the friend that has lways been there for you, especially through a hard time. This card also highlights a fork bow technique. A fork bow technique is when you just use an ordinary kitchen fork (I use the plastic ones) to create tiny bows. Again, this card also features the Sayings Something Mix and Match Ephemera Pack along with one of the frames from the Flowers and Frames.
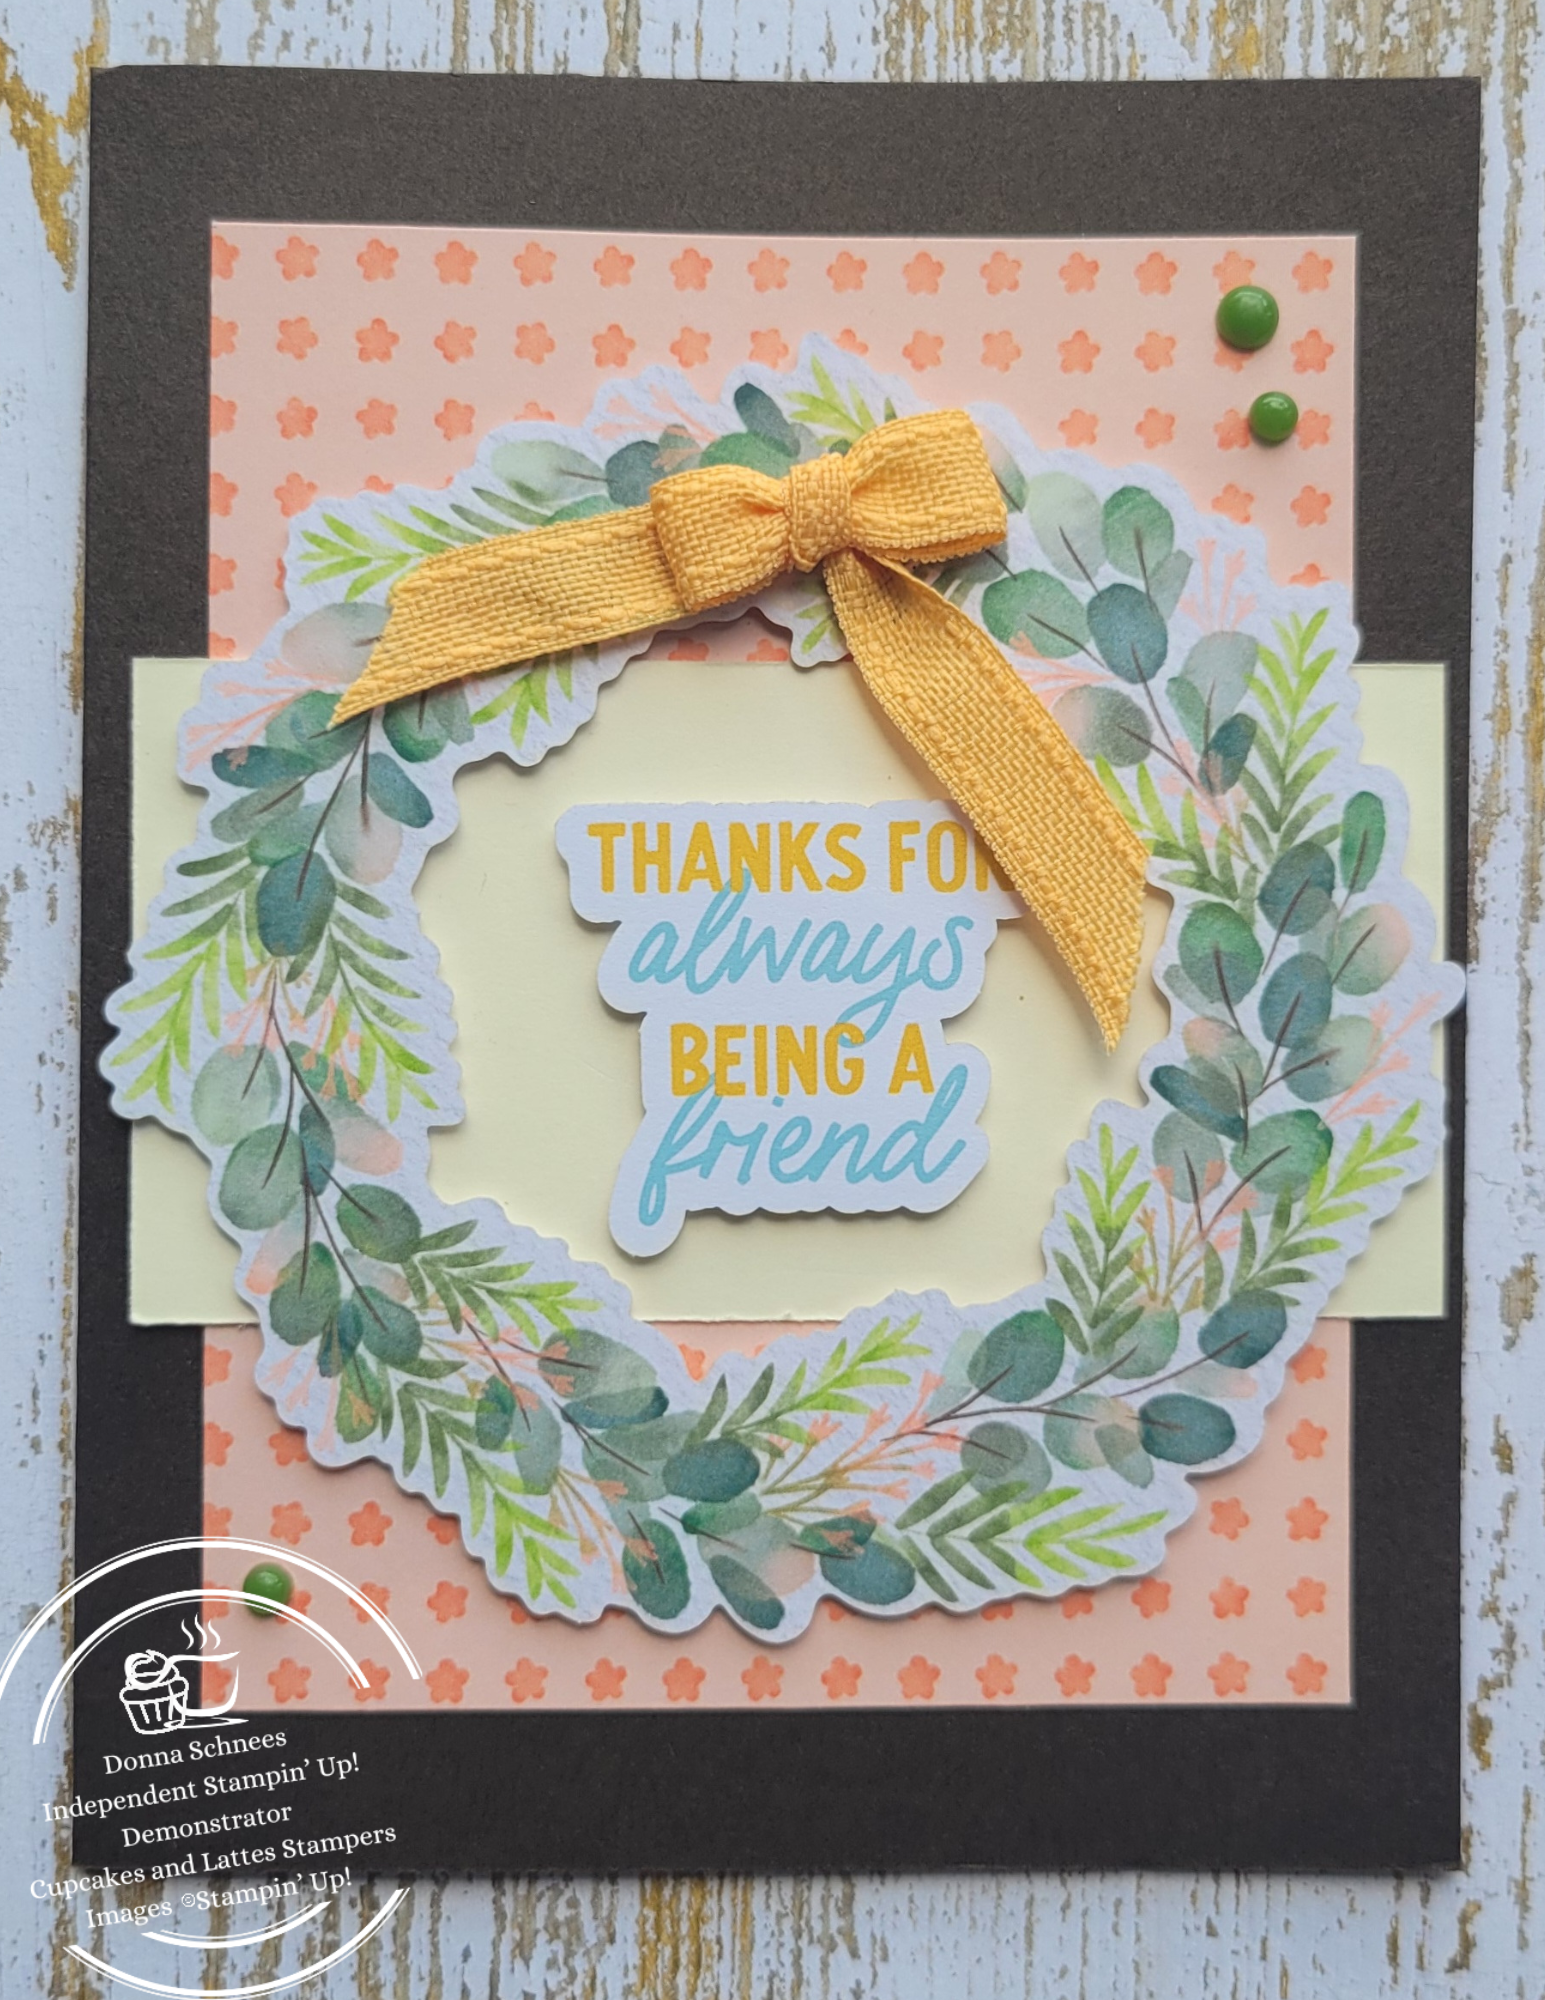
Thanks for being a friend Card

The leaves frame in its pretty colors of Pretty Peacock, Soft Seafoam, Petal Pink, and Lost Lagoon. The Early Espresso help this colors pop along with the Pumpkin Pie piece of DSP. Instead of using a piece of Basic White behind the frame, I felt it would overpower the frame. I went with Very Vanilla to help bring out more of the white border. Lastly adding the dots, the mini bow and the wording to finish the card. Enjoy these free instructions to recreate this card.
Step-by-step instructions
Supply List
Card base and layers
- Start with a piece of Early Espresso cardstock and cut this to 5-1/2″ x 8-1/2″ and score it at 4-1/4″ to create card.
- Next, cut a piece of Very Vanilla to 2″ x 4″.
- Now also cut a piece of the Frames and Flowers DSP to 3-1/2″ x 4-1/2″.
Assemble card
- Take your Frames and Flowers DSP and adhere to the center of the Early Espresso card front.
- Add the Very Vanilla to the center of the card front centering it across the middle.
- Taking dimensionals and add it to the back of the Leaves Frame and center this over the card front, see photo for placement.
- Now add dimensionals to the sentiment and center in the Leaves Frame.
Fork Bow
- Starting with the fork in your left hand, have one end of the ribbon come across the front with the end of the ribbon hanging on the right side.
- next bring the other end around the back of the fork and this end should be longer than the front end.
- Now bring the long end over the front, over the ribbon and run it through the middle tines.
- Now bring it up and over the middle tines and be sure the ribbon on the fork is below it.
- Tie the two ends into a knot. Flip the fork over and you should see your bow.
- Now slide it off the fork tines and tug the bow ends for a snug fit.
Adding bow and dots to card
- Using a glue dot, add the bow to the center top of the Leaves Frame
- Finally, add three Adhesive-Backed Dots to finish the card front.
The Frames and Flowers have so many possibilities for creating cards and more! What would you create with this product? Leave me a comment.
Come back tomorrow for another featured card with the Frames and Flowers.

Hugs,
Donna Schnees
Stampin’ Up! Independent Demonstrator
Cupcakes & Lattes Stampers
This Month’s Monthly Tutorial
Get this month’s tutorial of 36 Christmas projects from 36 demonstrators for FREE with a $50.00 order, or you can buy the tutorial outright for $20.00. Reach out to me via email at Donna@cupcakesandlattesstampers.com, and I will promptly send you an invoice for the tutorial.
What is included in the tutorial bundle?
- Full supply List
- Measurements for each project
- Full-color photos of each project
- and step-by-step instructions (some projects have video links to their projects)

This will be emailed to those who earned it with a qualifying order at the end of each month.


Download Catalogs


Suppose you live in the U.S. and do not have a Stampin’ Up! Demonstrator, please contact me. Will be happy to help you with your creative projects. You can visit my Online Store to place your order and have it shipped to your home.

Follow me on my other social media accounts by scanning the QR code below.

Hugs,
Donna Schnees
Stampin’ Up! Independent Demonstrator
Cupcakes & Lattes Stampers