
Hello everyone! Hope you are having a beautiful autumn day. Today here in Ohio, we are having a chilly day, perfect heavy sweater weather, and hot chocolate or hot apple cider to have on hand. Can already smell the spices of the hot apple cider in the air. Do you smell it? Leaves are falling fast off the trees, and I am hearing the rustling of the leaves from the next-door neighbor’s kids playing in the leaf piles that their mom is building for them. Oh, to be a kid again. Would you want to play in the leaf piles?
The card for today is all about pumpkins. This card is adorable and holds a surprise! Keep reading to find out the surprise! This card uses autumn colors in greens, yellows, coral, and other cool tones. Do you think so?

Here is a closer look at the card front and charming color scheme.

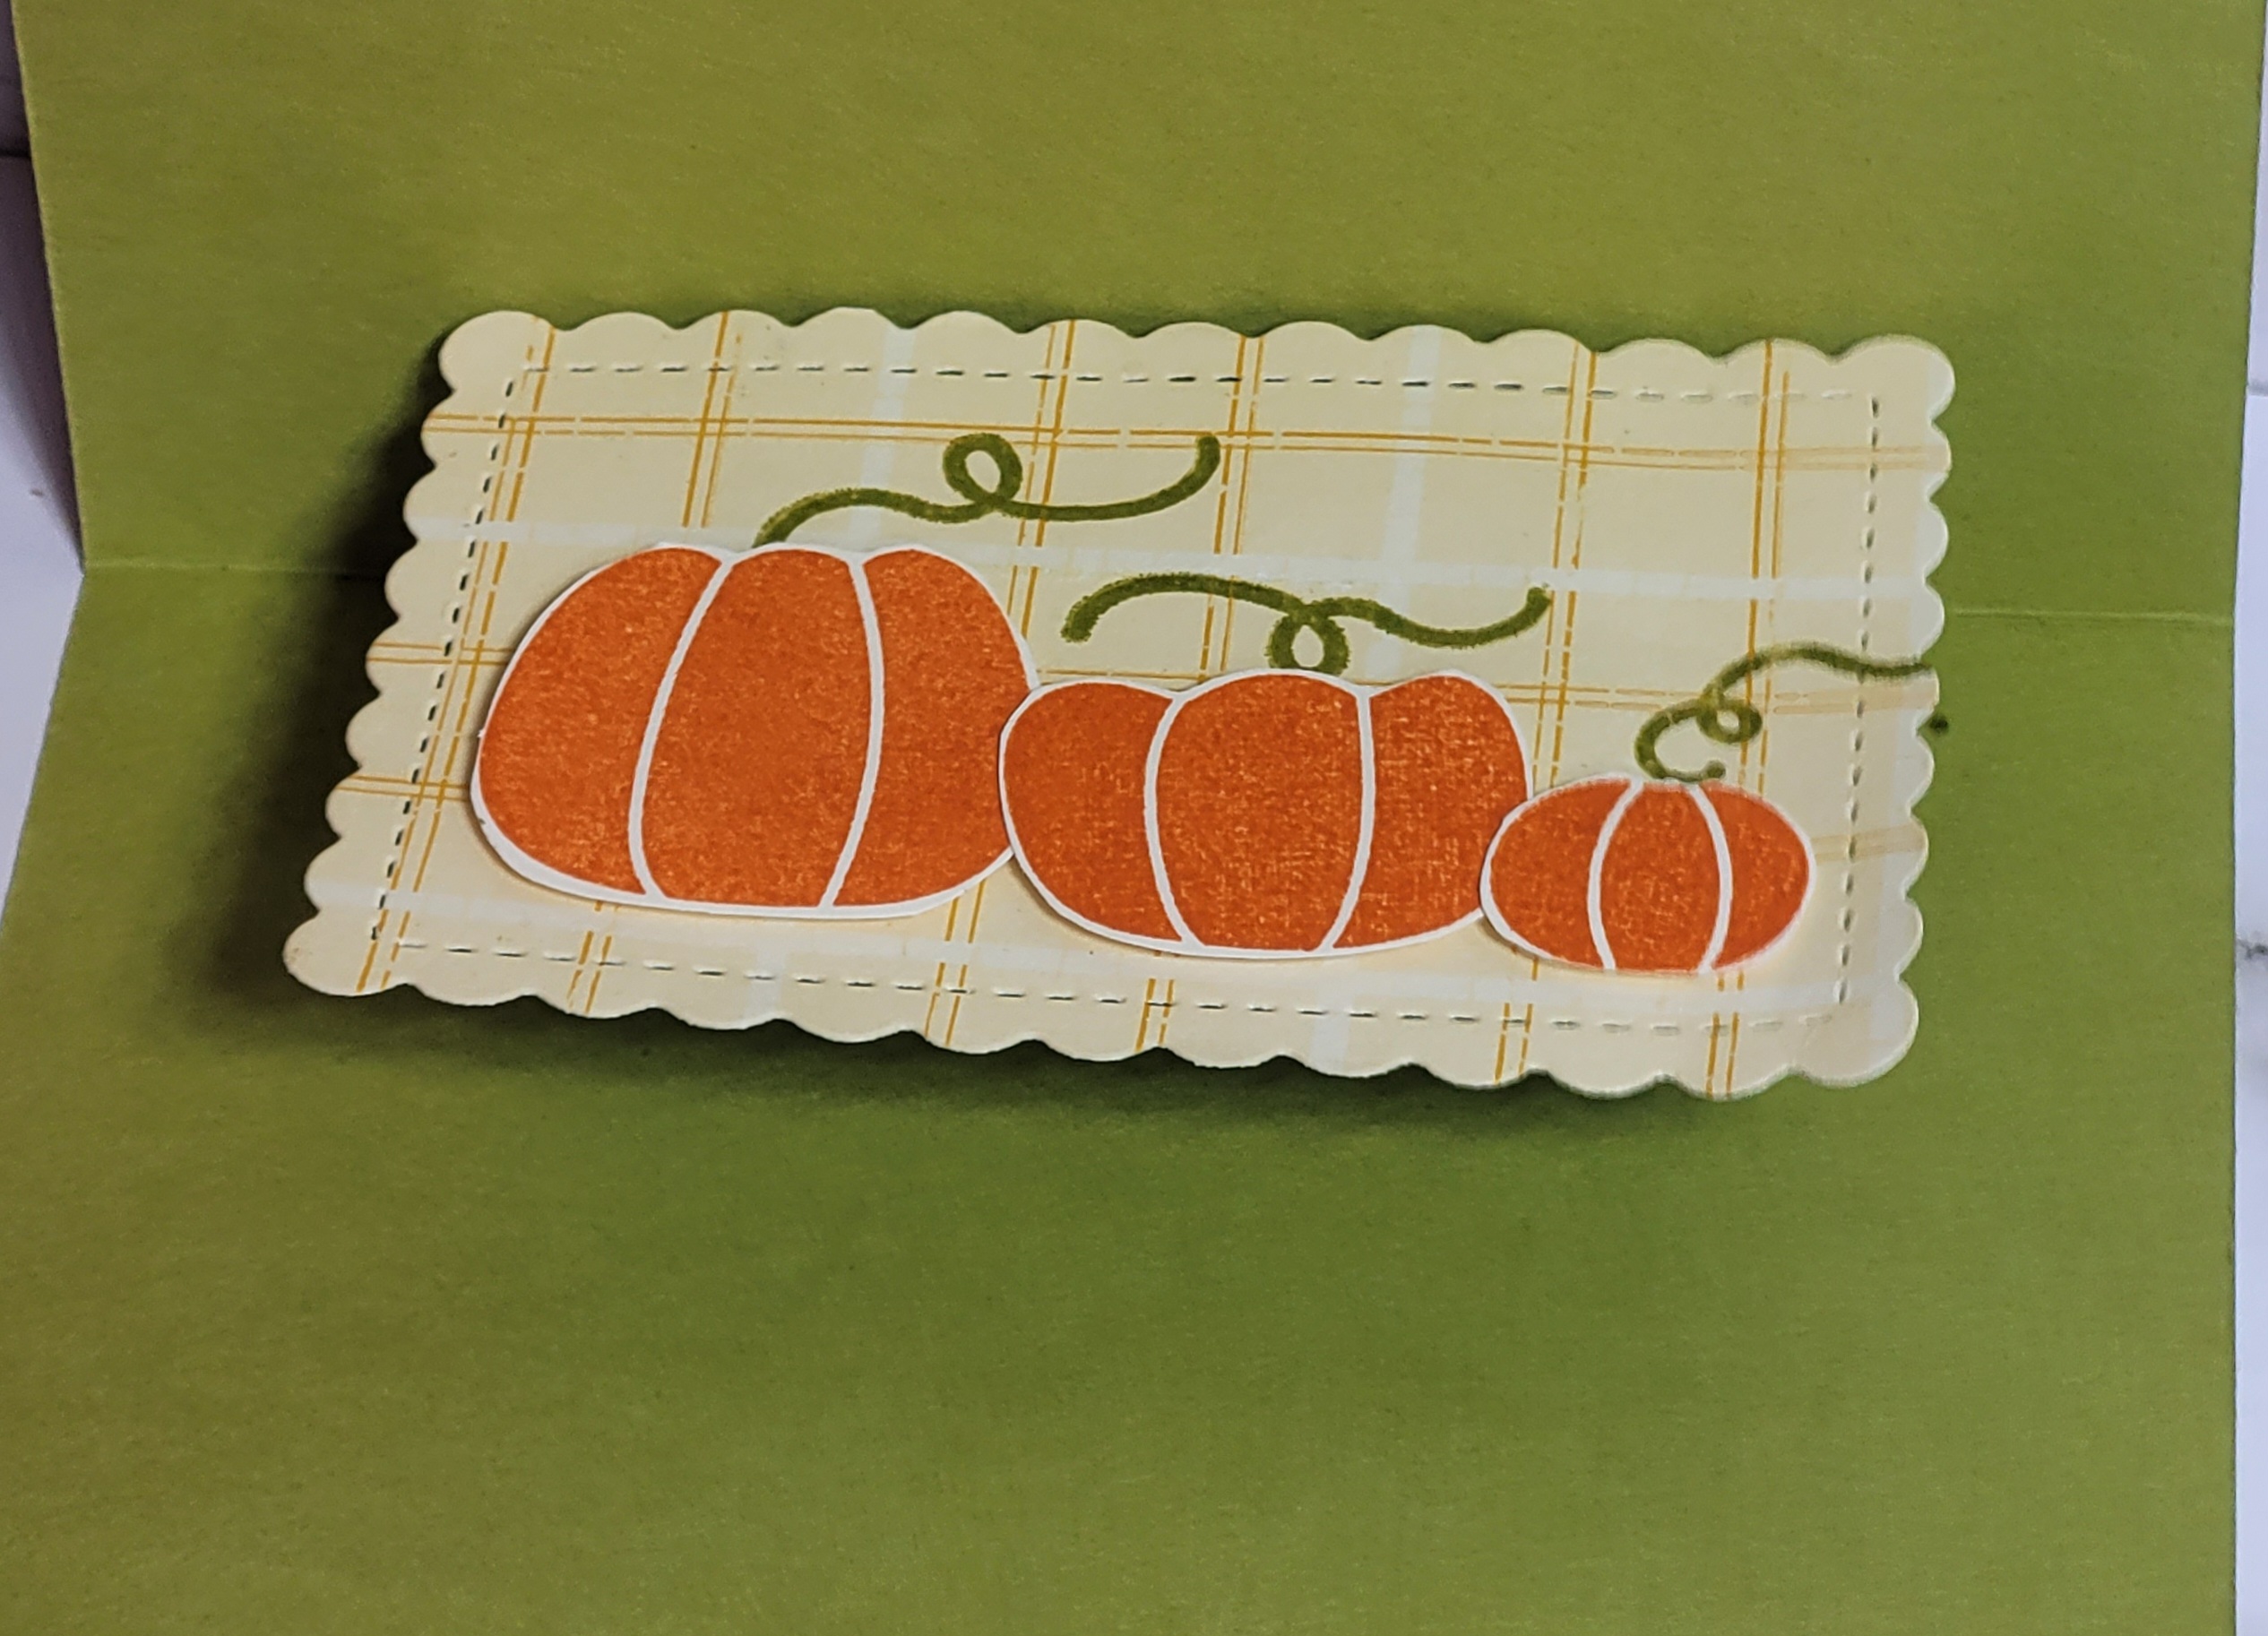
Here is the surprise! a simple center pop-up. Kind of looks like a table with pumpkins as the centerpiece. How cool is that?

Supplies and step-by-step instructions:
- Old Olive cardstock- 8-1/2″ x 5-1/2″ scored at 4-1/4.”
- Old Olive cardstock for pop mechanism- 2″ x 2-1/2″ score at every 1/2.”
- Calypso Coral cardstock- 1/2 a sheet.
- Inked Botanicals dsp- two coordinating 6″ x 6″ sheets.
- Basic White cardstock- 1/4 a sheet for stamping pumpkins.
- Old Olive, Pumpkin Pie, and Copper Clay Ink Pad.
- 2023-2025 In Color Jute Trim-Copper Clay.
- 2023-2025 In Color Dots-Copper Clay.
- Pick of the Patch Stamp Bundle.
- Scalloped Contours Dies.
- Multipurpose Glue
- Glued Dots
- Paper Trimmer
- Stampin’ Cut and emboss machine
- Die-cut the edge of the card base with the scalloped contour edge die (See diagram below-A). Die-cut the calypso coral piece with the largest scalloped contour die (B). With the next contour die (C), die-cut one of the dsp pieces for the card front. Using the smaller die for the “table” (D,) die-cut the next dsp piece and the smallest die for the basic white sentiment piece (E.)
- Now adhere calypso coral cardstock and the dsp with multipurpose glue to the card front.
- Stamp sentiment onto the basic white cardstock in copper clay. Adhere to the center of the card front with dimensionals. Add a copper clay bow with a glue dot and three copper clay dots.
- Take the scored mechanism, fold on score lines, and glue the edge to edge to form a square. Place in the center of the card fold, applying multipurpose glue to the 1/2″ side that lays next to the score line. Do the same to the opposite side, this will create the “pop-up” when you open the card.
- Stamp the three pumpkins in pumpkin pie. Punch or fussy cut them out (the smallest pumpkin will have to be fussy cut. The other two fit the punch.) Line up the pumpkins and with a pencil make a small tick mark above each pumpkin. Stamp the stems in old olive ink. Now with dimensionals add the pumpkins.
- Take the “table” and adhere it to the top of the 1/2′ piece with multipurpose glue (before adhering it down, be sure the piece fits okay, adjust if need be.) Your card is now complete.

Ready to create your own projects? Shop the Stampin’ Up! products used in these projects through my online store. Your order supports Cupcakes and Lattes Stampers and helps me continue sharing new card ideas, fun folds, classes, and creative inspiration.

~Thanks for stopping by-Donna Schnees~
Sit Back, Relax, Enjoy a Cup of Latte, and a Cupcake!

Catalogs


New Online Exclusives Coming Soon

The Meandering Meadow Suite Collection includes a photopolymer stamp set, coordinating dies, 6" x 6" Designer Series Paper, Pecan Pie ⅜" Center Stripe Ribbon, and Adhesive-Backed Dragonflies & Birds embellishments. The Garden Meadow Photopolymer Stamp Set and coordinating Garden Meadow Dies are available to purchase as a bundle, saving you 10%! The stunning designs of the Meandering Meadows DSP makes creating cards with this suite easy.

The Fluffiest Friends Bundle comprises a cling stamp set and coordinating dies, which are available separately or as a bundle (saving you 10%). These cute, hand-drawn animal images are perfect for coloring.

If you love adding sparkle to your cards, you'll love the new Three Color Glimmer 12" x 12" Specialty Paper. The three hues, Highland Heather, Petal Pink, and Pretty Peacock, will easily coordinate with a variety of projects.

This is only a sample of what will be available. Check out the Online Exclusives section of my online store on 7 November to see all the new products launching as part of this release. Remember that these new items are initially available while supplies last, so place your order quickly to avoid disappointment!

If you live in the U.S. and do not have a Stampin’ Up! Demonstrator, please contact me. Will be happy to help you with your creative projects. You may also visit my Online Store to place your order and have it shipped to your home.

