
For our final card we are using Blackberry Bliss cardstock and a piece of DSP from the Perennial Lavender to create a gorgeous card in purple tones. Did you know the color purple is associated with different meanings? It can mean wisdom, CREATIVITY, royalty, power, ambition, luxury and spirituality.
Stampin’ Up! has several shades that could fit in the purples group. Which of these are your favorite? I love the Melon Mambo it is like a pinkish purple tone and Blackberry Bliss. These two colors are so pretty together.

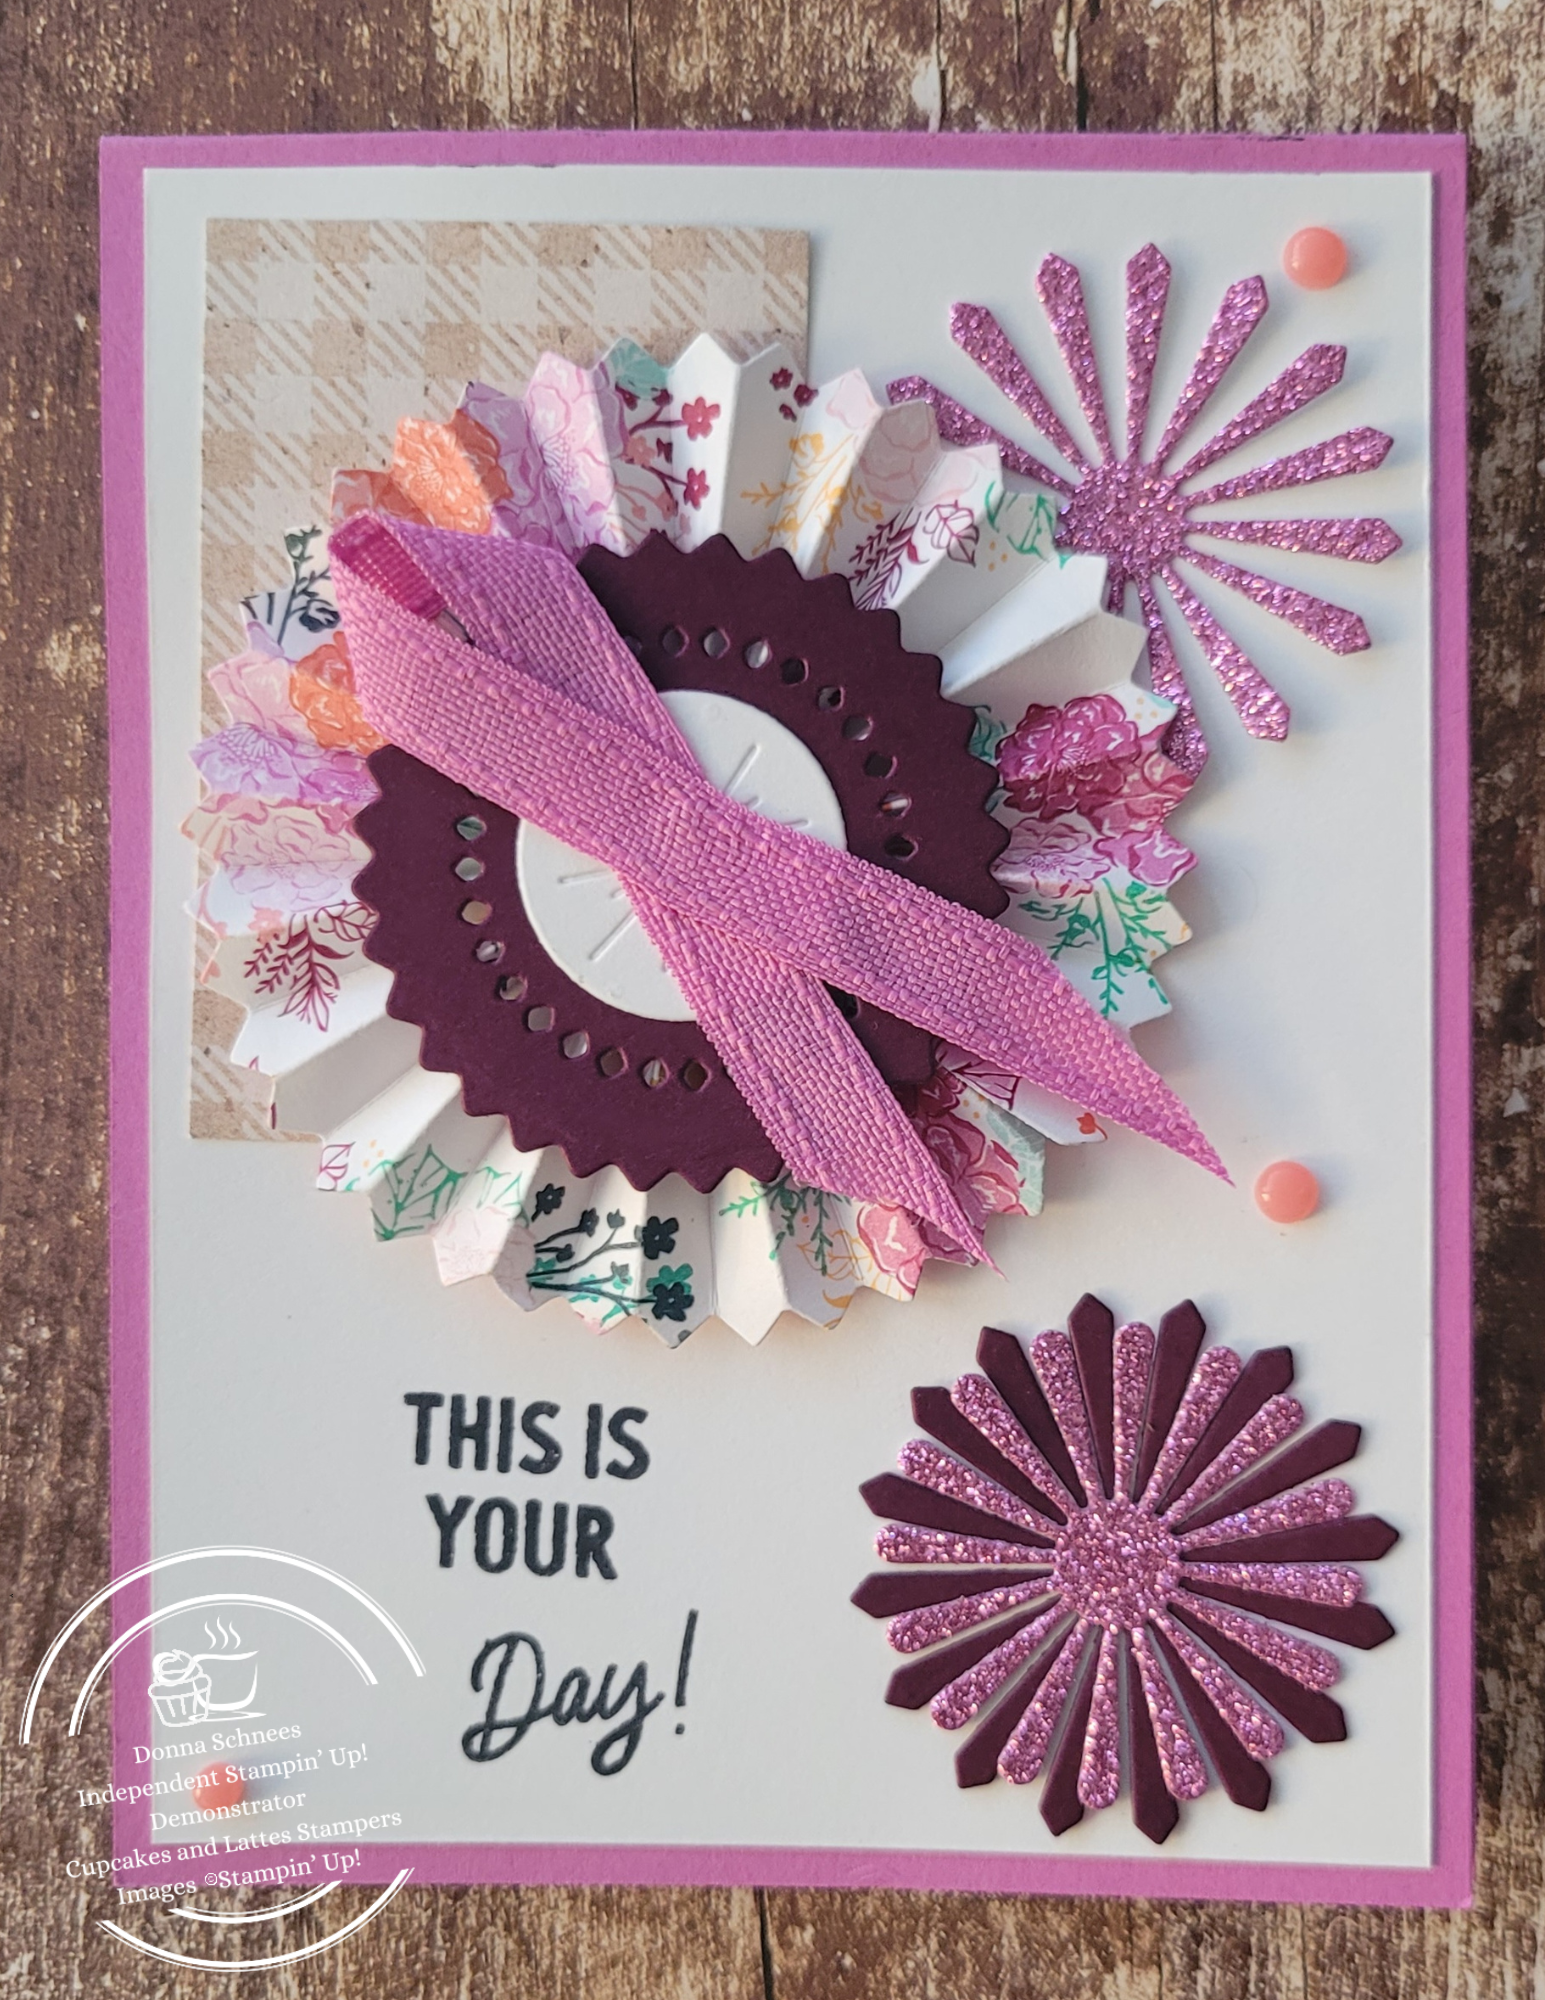
This is your day!
Just look at this card with all of its vibrant colors, from light purple to dark purple with hints of pinks, yellows, oranges and greens to help them shine! Who do you know that is a purple lover? Now let us get to the tutorial.

Step-by-step instructions
Card base
- Take a piece of Petunia Pop cardstock and cut it to 5-1/2″ x 8-1/2″ and score it at 4-1/4″.
- Now take a piece of Basic White cardstock and cut it down to 5-1/4″ x 4″ and adhere it to the front of the card base with liquid glue.
DSP Pieces
- Using the rosette die, die cut two pieces from the Unbounded Beauty DSP. Using liquid glue, adhere one end and then start accordion folding on the score lines and then adhere the other end with liquid glue.
- Next, die cut a circle with one of the scalloped or pinking circles. Using Fabri-Tac glue, place a dot in the center of circle and form your rosette, place it on there. Put a stamp block or ink pad on it and set aside.
- Using a paper trimmer, trim down a piece of the plaid dsp from Perennial Lavender to be about 2″ x 3″. Adhere with liquid glue, top left of the Basic White piece of the card front.
Die cut pieces
- Start die cutting from the Petunia Pop glimmer paper and Blackberry Bliss cardstock the flower/starburst shapes.
- Take the one piece of Blackberry Bliss and die cut the diamond shapes in the center of it.
- Next take the starburst die, die cut it from a piece of Basic White and adhere it to the center of the Blackberry Bliss with liquid glue. Add a piece of Petunia Pop ribbon to the center with a glue dot.
- Add this piece to the rosette.
- Start adhering the pieces to the card front with liquid glue, see photo for placement.
- Stamp in Tuxedo Black in This is your and day. These are two separate stamps in the bundle.
- Finally add three of the Adhesive-Backed Dots for Days in pink.
Your card is now ready for the lucky recipient who loves purple. I hope you have enjoyed this week’s posts. Next week’s post will be the In Tune bundle paired with the Take to the Sky DSP. So, stay tuned! (pun intended lol!)

Hugs,
Donna Schnees
Stampin’ Up! Independent Demonstrator
Cupcakes & Lattes Stampers
This Month’s Monthly Tutorial
Get this month’s tutorial of 36 Christmas projects from 36 demonstrators for FREE with a $50.00 order, or you can buy the tutorial outright for $20.00. Reach out to me via email at Donna@cupcakesandlattesstampers.com, and I will promptly send you an invoice for the tutorial.
What is included in the tutorial bundle?
- Full supply List
- Measurements for each project
- Full-color photos of each project
- and step-by-step instructions (some projects have video links to their projects)

This will be emailed to those who earned it with a qualifying order at the end of each month.
Download Catalogs


Suppose you live in the U.S. and do not have a Stampin’ Up! Demonstrator, please contact me. Will be happy to help you with your creative projects. You can visit my Online Store to place your order and have it shipped to your home.

Follow me on my other social media accounts by scanning the QR code below.

Hugs,
Donna Schnees
Stampin’ Up! Independent Demonstrator
Cupcakes & Lattes Stampers