
For today’s hop, I am showcasing the Floral Delight Suite on pages 33 through 37.
This suite is perfect for spring with it yellow tones. It is bright and cheerful. With this cold spell coming through and all of these natural events happening. We all need sunny days. 🌞
Colors in the suite

These colors are beautiful together. One of the things I like about our coordinating products. Our Designer Series Paper has on the back cover the list of coordinating colors. Great for beginners. Takes the guesswork out of what colors to pick of cardstock.
Designing the project
Designing a card or scrapbook project can be a fun and creative process. Here are the steps to guide you:
1. Define the Purpose
- Decide on the occasion (birthday, wedding, anniversary, etc.) or theme (nature, travel, family, etc.).
- Think about who the recipient is or the message you want to convey.
2. Choose a Style
- Do you want a modern, vintage, minimalist, or elaborate design?
- Select a color palette that fits the theme or purpose.
3. Plan the Layout
- Sketch a rough design or mentally visualize how you want the elements arranged.
- Will it be simple (flat card) or interactive (pop-up card, layered scrapbook page).
4. Gather Supplies
- For Cards: Cardstock, patterned paper, stamps, ink, markers, or embellishments.
- For Scrapbooks: Photos, stickers, journaling cards, washi tape, glue, scissors, and decorative elements.
- Optional tools: Punches, cutting machines, or embossing tools.
5. Select Focal Points
- Cards: Decide on the central image, sentiment, or feature.
- Scrapbooks: Choose key photos or memorabilia to highlight.
6. Add Embellishments
- Incorporate layers, textures, or decorative items like ribbons, buttons, or glitter.
- Use stamps, stencils, or die cuts for extra flair.
7. Personalize
- Add handwritten notes, names, or custom elements that make the project unique.
8. Assemble the Design
- Secure pieces using glue, tape, or adhesives as appropriate.
9. Review and Finish
- Check for mistakes, misalignment, or missing details.
- Make any necessary adjustments.
10. Show or Preserve
- For cards: Add them to an envelope or wrap creatively.
- For scrapbooks: Store in a protective album or show as intended.
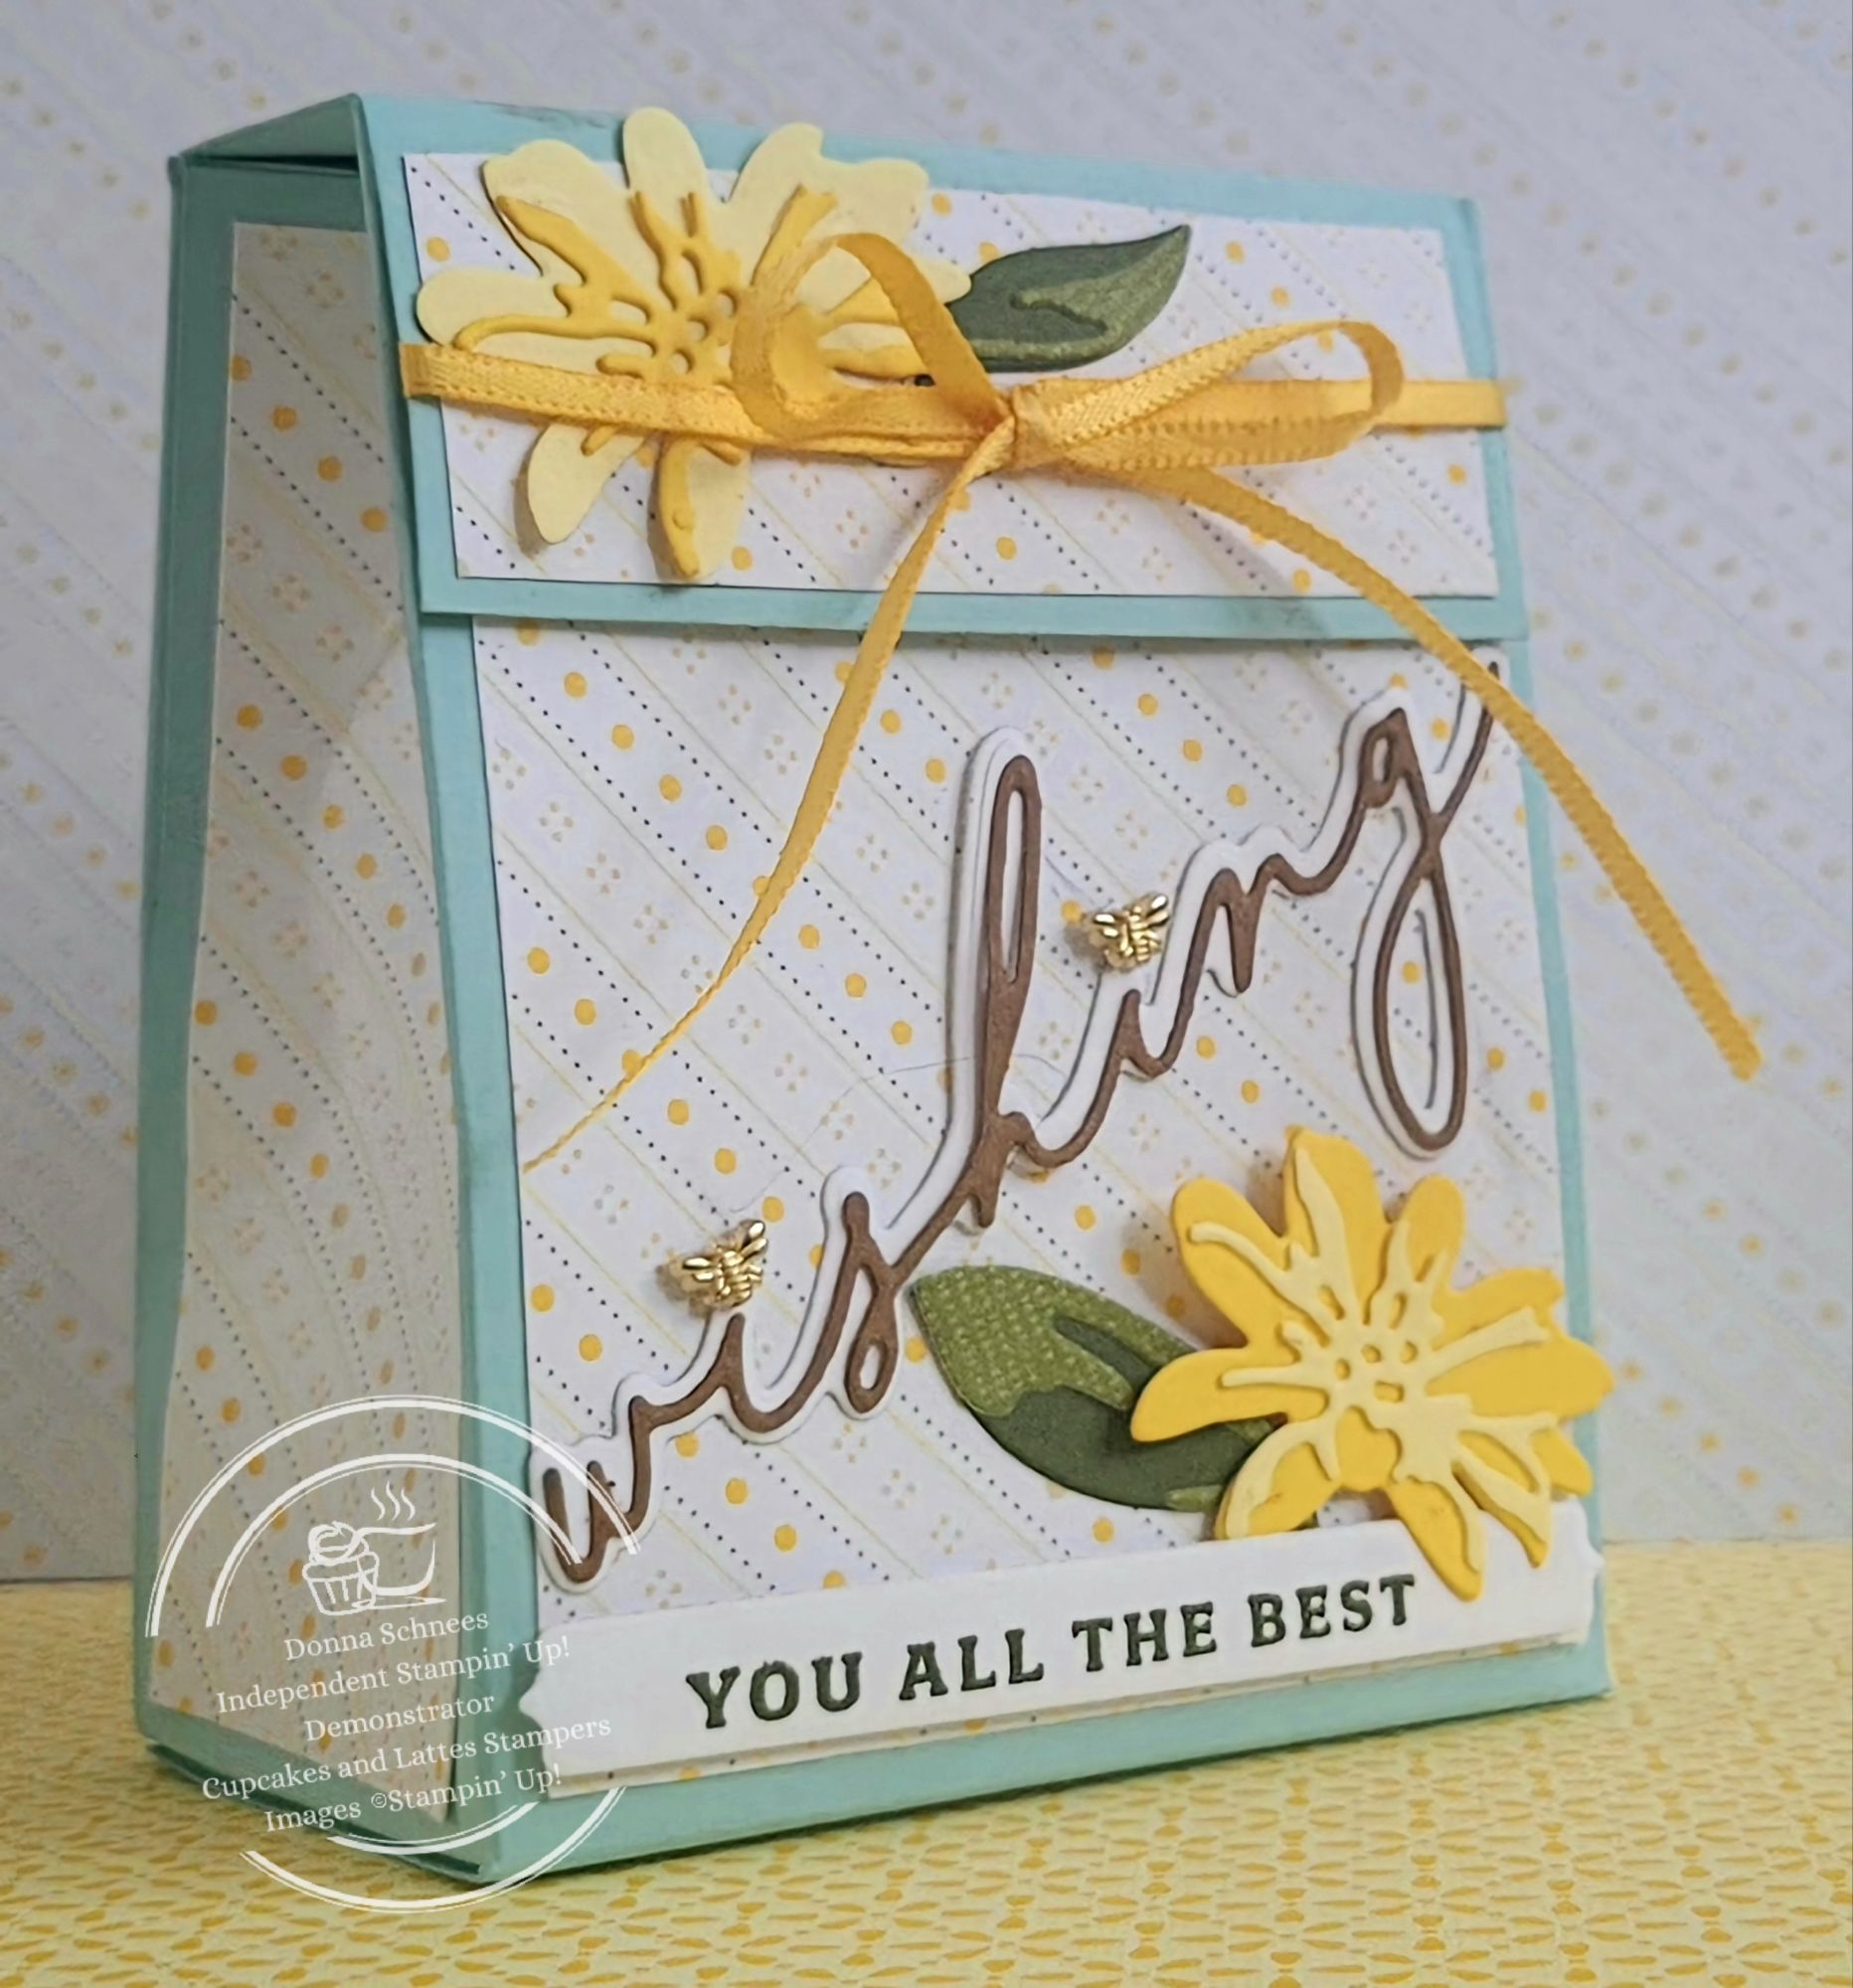
Delightful Wishes Gift Bag
The project I have cased is from demo, Tami White. This project will be a part of February’s Class To-Go. I try hard to include a 3-D item in my card classes. I felt this gift bag is perfect.

Decorated the front with DSP, die-cut flowers, leaves, ribbon, and bees.

Die-cut the sentiment in basic white and pecan pie and layered the two pieces together. Dotted the eyes with those adorable mini bees.

To create the bag closure using magnets hidden under the DSP or a Velcro dot. Here are the instructions to recreate this bag. I have provided inches and cm.
Creating the bag Imperial Measurements:
- One piece of 11″ x 8 1/2″ cardstock
- Scoring tool
- Scoring on the 11″ side, place the cardstock horizontally (landscape orientation). Score vertical lines at 2″, 5 1/4″, 7 1/4″, and 10 1/2″ from the left edge.
- Scoring on the 8 1/2″ side, rotate the cardstock vertically (portrait orientation). Score horizontal lines at 2″, 6″ and finally, score a line at 7″.
- Next, cut off the sections (these say cut off) marked and add tape or glue to the tab. Now cut up the score lines to create bag bottom (scissors and only cut up to the score line.) Fold over the other side and adhere to flap.
- Fold in the bottoms and glue closed.
Designer Series Paper Measurements
- Front and Back A (2 pieces): 3 3/4″ x 3″
- Top Front Flap C (2 pieces optional): 3″ x 1″
- Top of Flap D: 3″ x 3/4″
- Sides B (2 pieces): 3 3/4″ x 1 3/4″
- Adhere pieces to bag except for one of the C’s.
- Adhere one or two magnets to flap bottom. Add ribbon.
- Now add the other C piece and adhere it down.
- Fold over the flap and pinch the sides to form a better closure (see pictures above).
- add the die-cuts, wording and sentiment as desired.

Creating the bag CM Measurements:
- One piece of cardstock 27.94 cm x 21.59 cm
- Scoring tool
- Score lines on the 27.94 cm side, place the cardstock horizontally (landscape orientation). Score vertical lines at 5.08 cm, 13.36 cm, 18.42 cm and 26.67 from the left edge.
- Score lines on the 21.59 cm side, rotate the cardstock vertically (portrait orientation). Score horizontal lines at 5.08 cm, 15.24 cm, and finally, score a line at 17.78 cm.
- Next, cut off the sections (these say cut off) marked and add tape or glue to the tab. Now cut up the score lines to create bag bottom (scissors and only cut up to the score line.) Fold over the other side and adhere to flap.
- Fold in the bottoms and glue closed.
Designer Series Paper Measurements
- Front and Back A (2 pieces): 9.5 cm x 7.6 cm
- Top Front Flap C: 7.6 cm x 2.5 cm
- Top D: 7.6 cm x 1.9 cm
- Sides B (2 pieces): 9.5 cm x 4.4 cm
- Adhere pieces to bag except for one of the C’s.
- Adhere one or two magnets to flap bottom. Add ribbon.
- Now add the other C piece and adhere it down.
- Fold over the flap and pinch the sides to form a better closure (see pictures above).
- add the die-cuts, wording and sentiment as desired.

Hope you have enjoyed this post. Now let us hop on over to Melva Peters and see what she has created for us.

Hugs,
Donna Schnees
Stampin’ Up! Independent Demonstrator
Cupcakes & Lattes Stampers


Download Catalogs


Suppose you live in the U.S. and do not have a Stampin’ Up! Demonstrator, please contact me. Will be happy to help you with your creative projects. You can visit my Online Store to place your order and have it shipped to your home.

Follow me on my other social media accounts by scanning the QR code below.

Hugs,
Donna Schnees
Stampin’ Up! Independent Demonstrator
Cupcakes & Lattes Stampers