
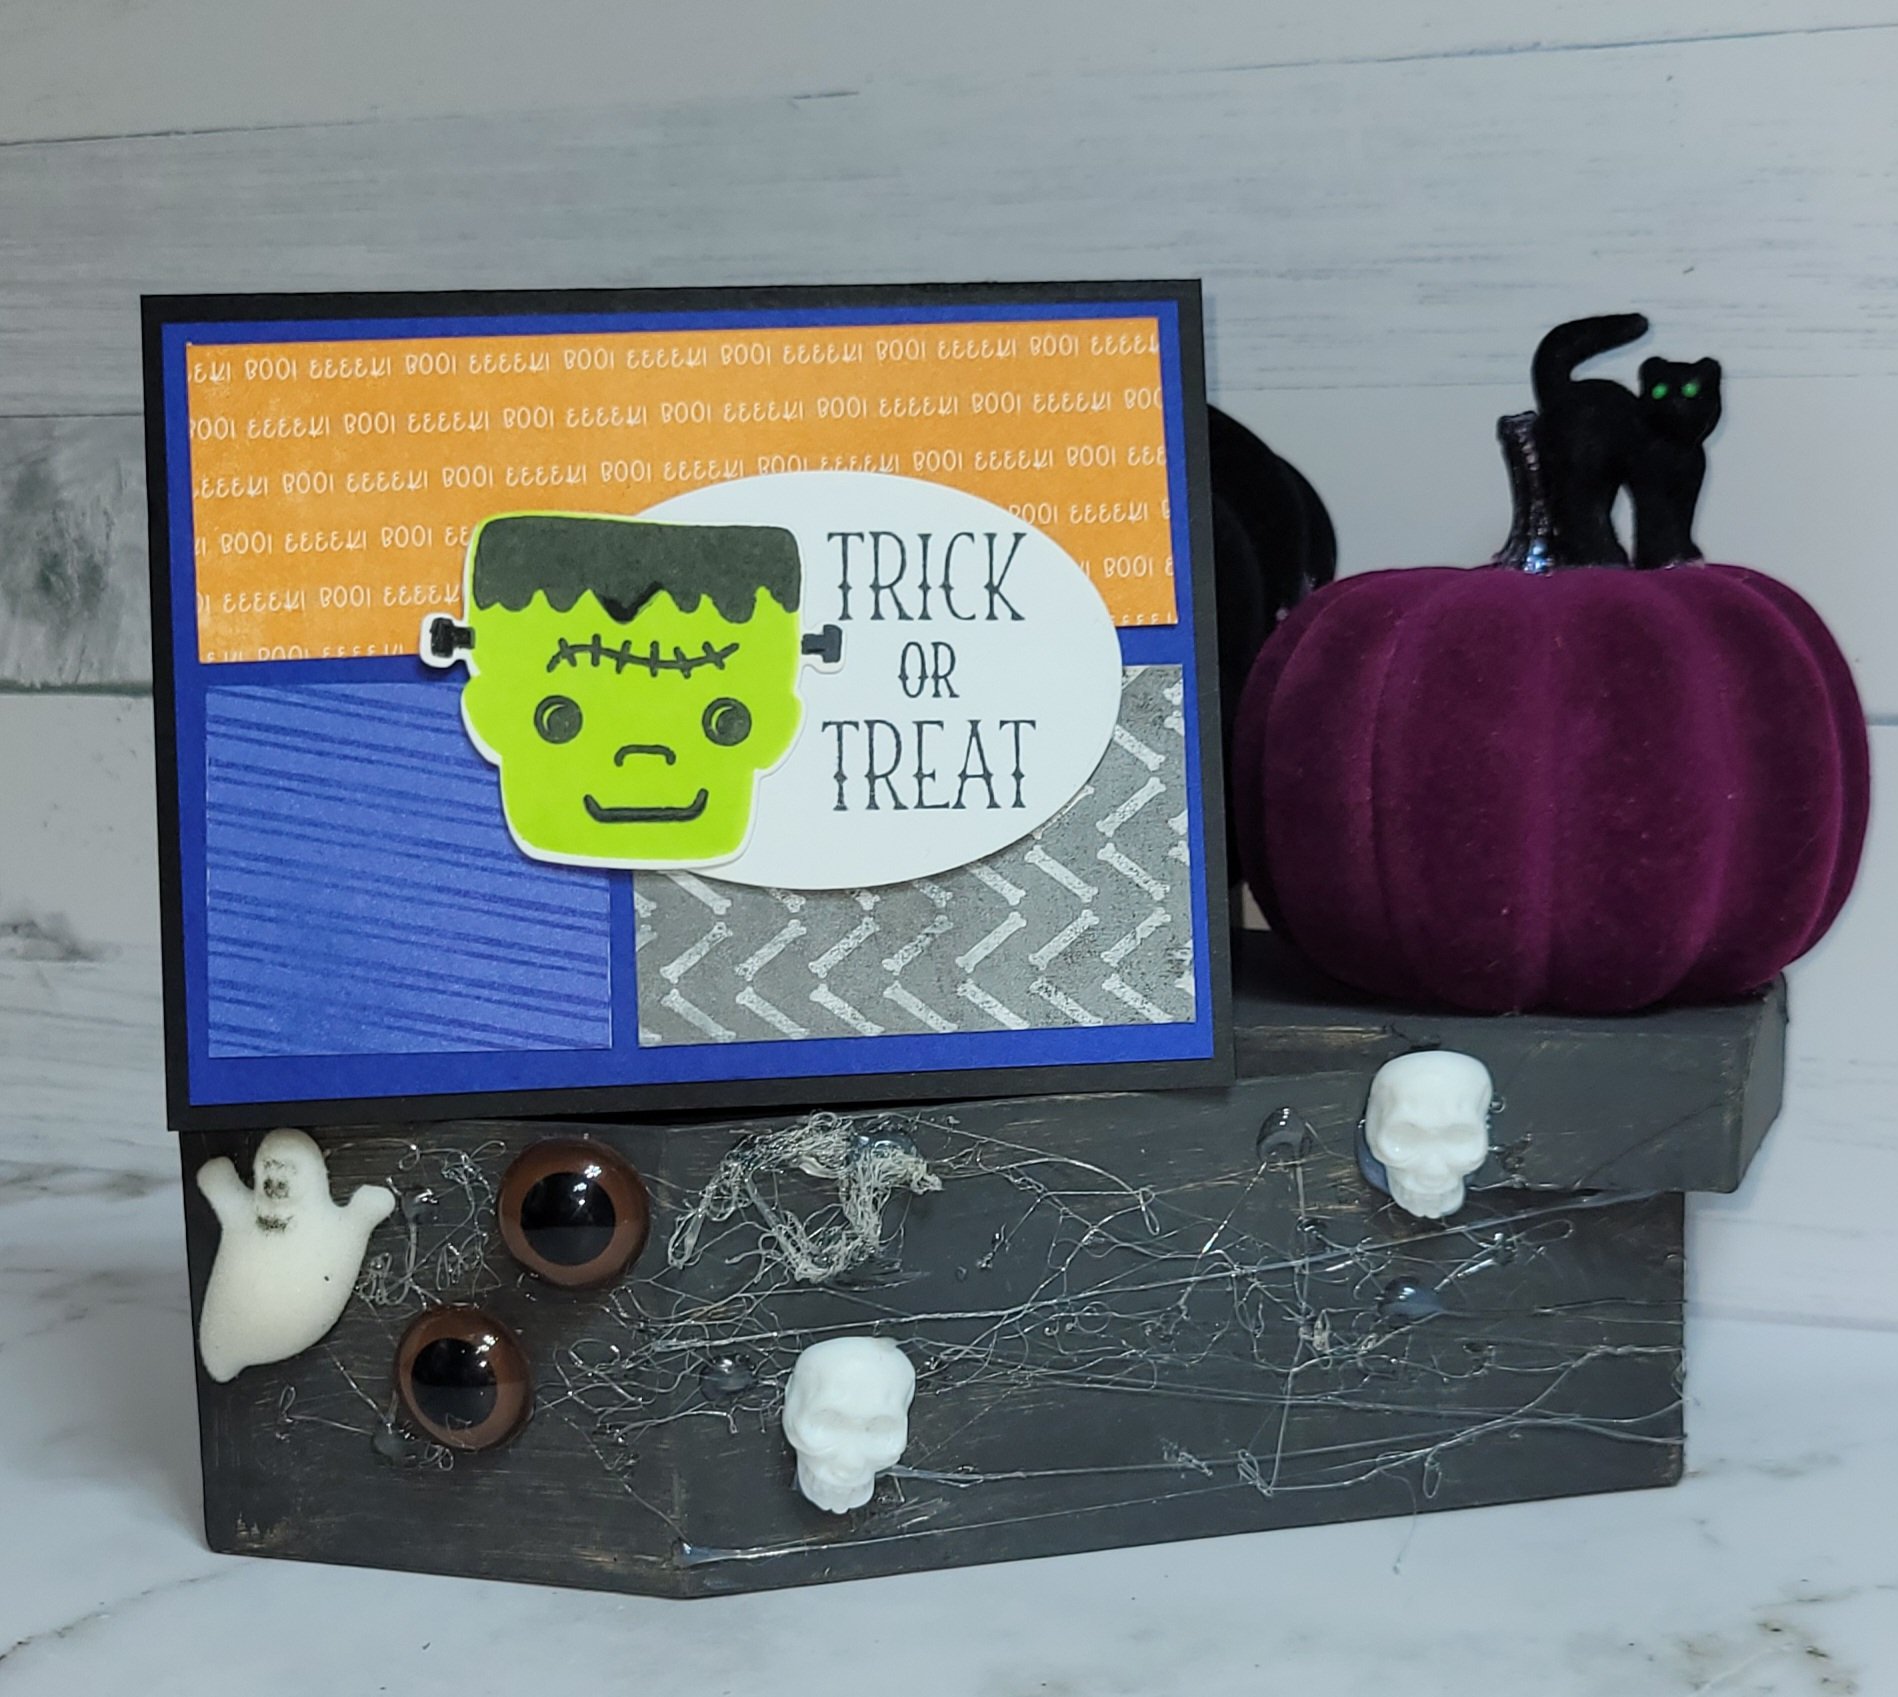

Welcome to today’s challenge with the Crafty Collaborations group! If this is your first time hopping with us, we are thrilled to have you here. We are a group of demonstrators from the USA, Canada, and other countries sharing our crafty ideas to ignite your creativity. If you’ve hopped with us earlier, we’re delighted you’ve returned to soak up more inspiration. And if you’re new here, Welcome! Let’s dive right into the hop!
We have the option to use one or more of the blocks in the picture below to incorporate into the design. Choose to use the two-step stamping for the card.

Use the Tricks & Treats stamp set for this card. Frankie was stamped in Parakeet Party, and his face and hair were stamped in Tuxedo Black.

Here is what the stamp set looks like for the two-step stamping. Frankenstein and Drac are the two-step stamps. First is the outline of the face, and then the second is the facial parts.

Here is a bag created with the two-step stamping. Mrs. Frankie. This is a gift bag. Her hair is using the Share a Milkshake stamp set. I added eyelashes, cut off the knobs, and gave her earrings instead. Isn’t she adorable?

Supplies and steps for the card
- Basic Black cardstock
- Starry Sky cardstock
- Basic White cardstock
- Them Bones designer series paper
- Parakeet Party Ink Pad
- Tuxedo Black Ink Pad
- Multipurpose Glue
- Stampin’ Dimensionals
- Cut basic black card base to 5-1/2″ x 8-1/2″ and score at 4-1/4.”
- Cut the starry sky for layer one at 5-1/4″ x 4″ and adhere to the card front with multipurpose glue.
- Them Bones designer series paper in three sizes:
- 5″ x 1-3/4″
- 2″ x 1/78″
- 2-7/8″ x 1-7/8″
- Large oval for the sentiment.
- Adhere the 5″ strip to the top of the card front, then the other two below it.
- Stamp the sentiment to the right side of the large oval and add the oval to the center with dimensionals.
- Stamp the Frankenstein facial body in parakeet party ink onto the basic white cardstock and then stamp the face in tuxedo black and then die cut it out. Add it to the oval with multipurpose glue.
- Cut a piece of basic white cardstock for the inside at 5-1/4″ x 4″ and adhere with multipurpose glue.
Had a lot of fun creating this card for you. Now on to the next demonstrator to see what she has created.
https://blogcarousel.com/?14Lr=embed&mode=jsReady to create your own projects? Shop the Stampin’ Up! products used in these projects through my online store. Your order supports Cupcakes and Lattes Stampers and helps me continue sharing new card ideas, fun folds, classes, and creative inspiration.

~Thanks for stopping by-Donna Schnees~
Sit Back, Relax, Enjoy a Cup of Latte, and a Cupcake!

Catalogs


2026 October Latte To-Go Class-Harvest Hues/Sunflower Fields is Open!
Grab your favorite latte and enjoy my next Latte To-Go Class that is filled with cheerful sunflowers, colorful autumn leaves, cozy plaids, and sweet seasonal details. We’ll be creating eight cards featuring the Harvest Hues Mix & Match Ephemera and Sunflower Fields Designer Series Paper. This collection brings together warm fall colors and layered designs…


Neutral Noel Retreat Ordering is Open (Oct 15th-25th)
The wait is over! The Neutral Noel Retreat ordering is happening now! A few days ago, you seen the video of al the projects that you will be creating with the Neutral Noel products. If you have not. You can go HERE to see them. To give you a refresher, you will be creating four…

October Latte To-Go Cards Spotlight
Grab your favorite latte and enjoy what’s coming to Cupcakes & Lattes Stampers this October! My next Latte To-Go Class is filled with cheerful sunflowers, colorful autumn leaves, cozy plaids, and sweet seasonal details. We’ll be creating eight cards featuring the Harvest Hues Mix & Match Ephemera and Sunflower Fields Designer Series Paper. This collection…
If you live in the U.S. and do not have a Stampin’ Up! Demonstrator, please contact me. Will be happy to help you with your creative projects. You may also visit my Online Store to place your order and have it shipped to your home.


